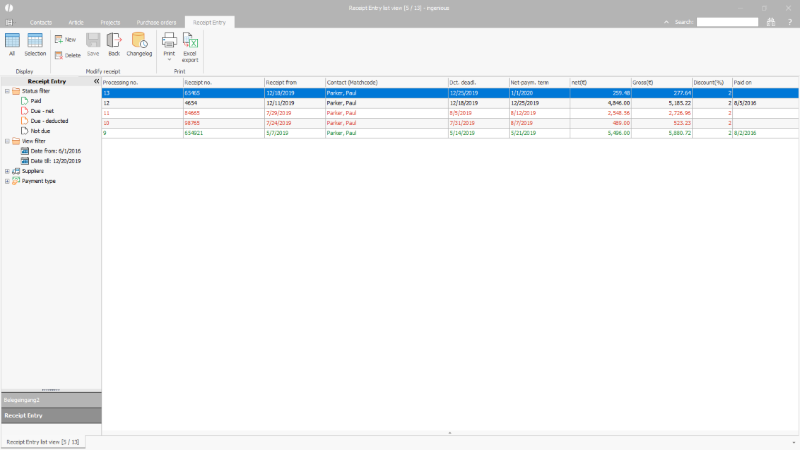
To access the receipt entry data, different printing options are available at the tool bar. Clicking the small triangle below the printer symbol will open a context menu through which singular functions can be selected.
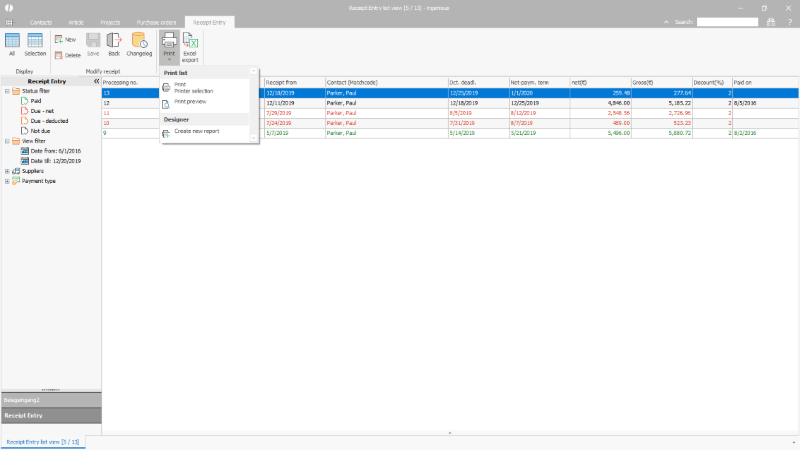
Print menu in the receipt entry |
1. Printing
Via the button ![]() , the receipt entry "list view" will be issued with all displayed columns and records on any printer. Via the Windows printing dialog the desired printer as well as other printing options can be selected according to the printer driver.
, the receipt entry "list view" will be issued with all displayed columns and records on any printer. Via the Windows printing dialog the desired printer as well as other printing options can be selected according to the printer driver.
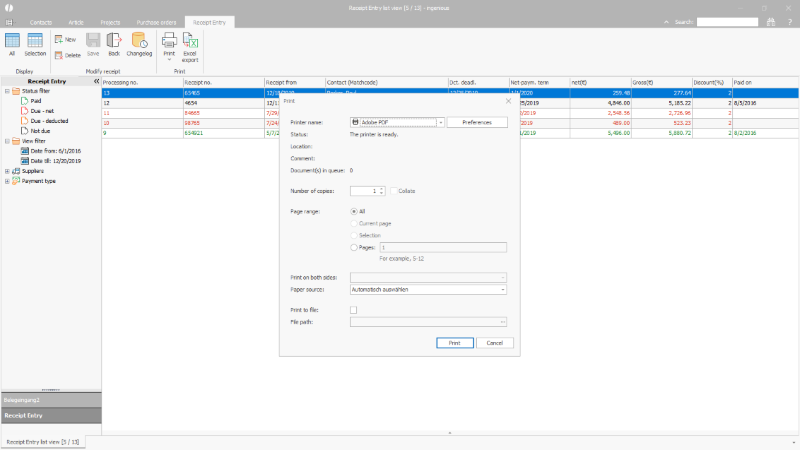
Print dialog for an incoming receipts list |
2. Print preview
The print preview displays of the document input list with all columns and records like on one sheet of paper. The print preview can be selected through the small triangle beneath the printer button.
Before the actual printing, adjustments may be made (e.g. change the header and footer, etc.).
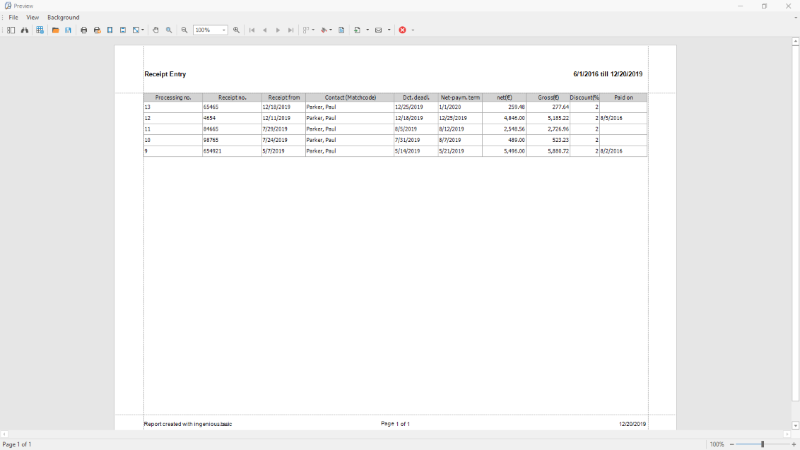
Print preview of an incoming receipt list |
3. Create a separate print report
For individual assessments and formatting, different printing reports can be created. Those can be accessed at any time and do not have to be configurated anew each time.
The printing report will be saved in the print report management within the program settings. A name for the report can be assigned and various preferences will be recorded, such as on which printer the report is to be issued.
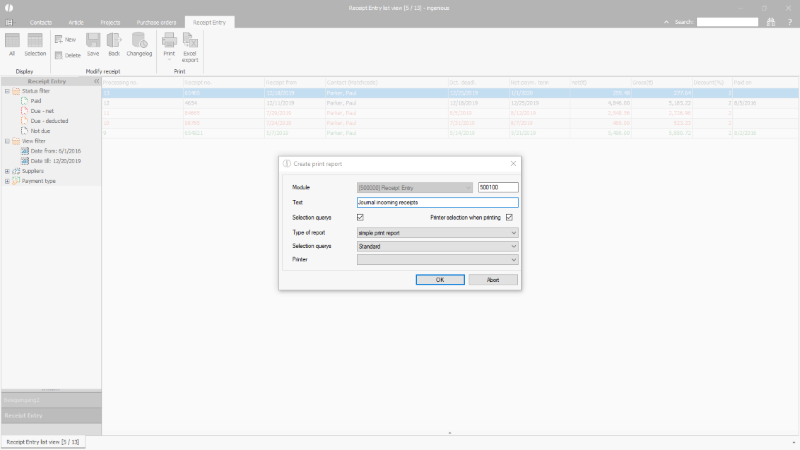
Adding a new incoming receipt print report |
Through clicking "OK" the printing report designer opens, where the desired data (custom scripts, static texts etc.) can be inserted in the field selection.
Print report designer |